
Last updated October 16, 2026
 Wrought iron
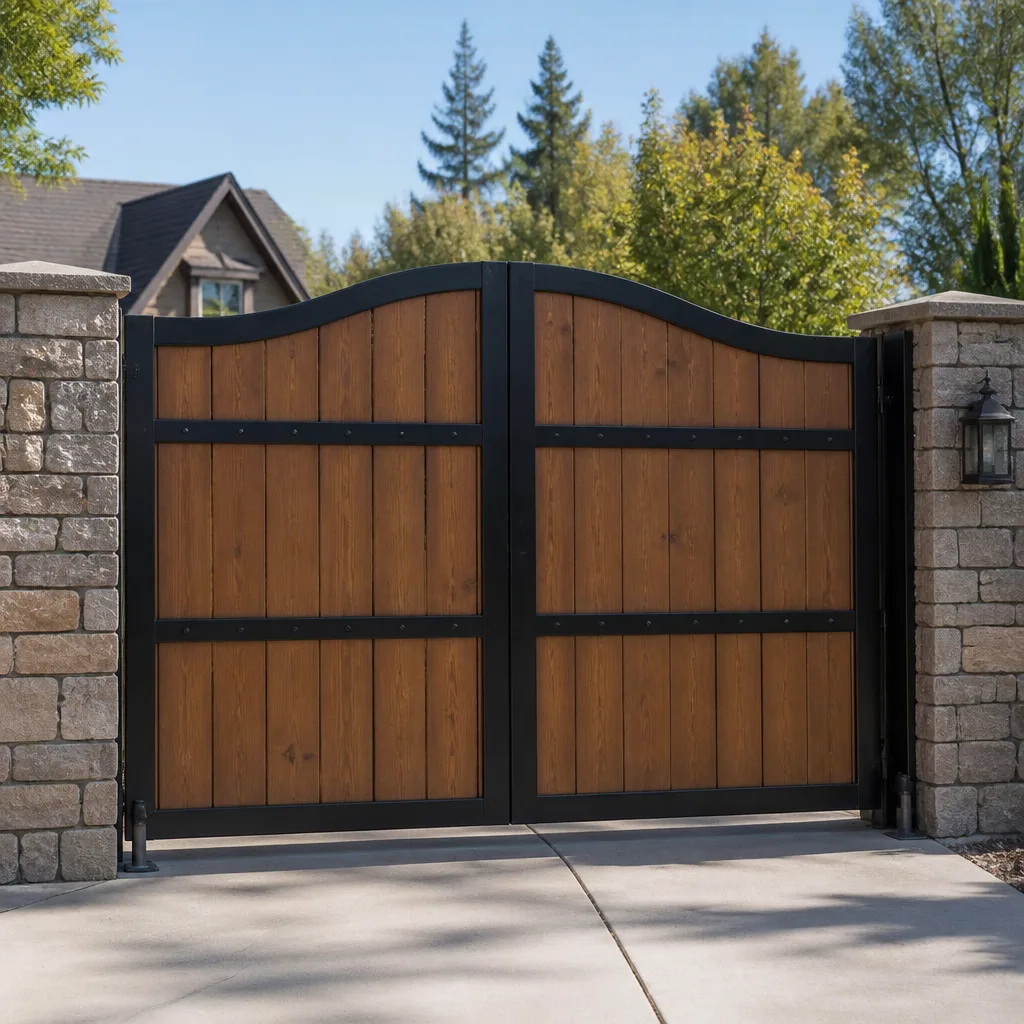 Wood & steel frame
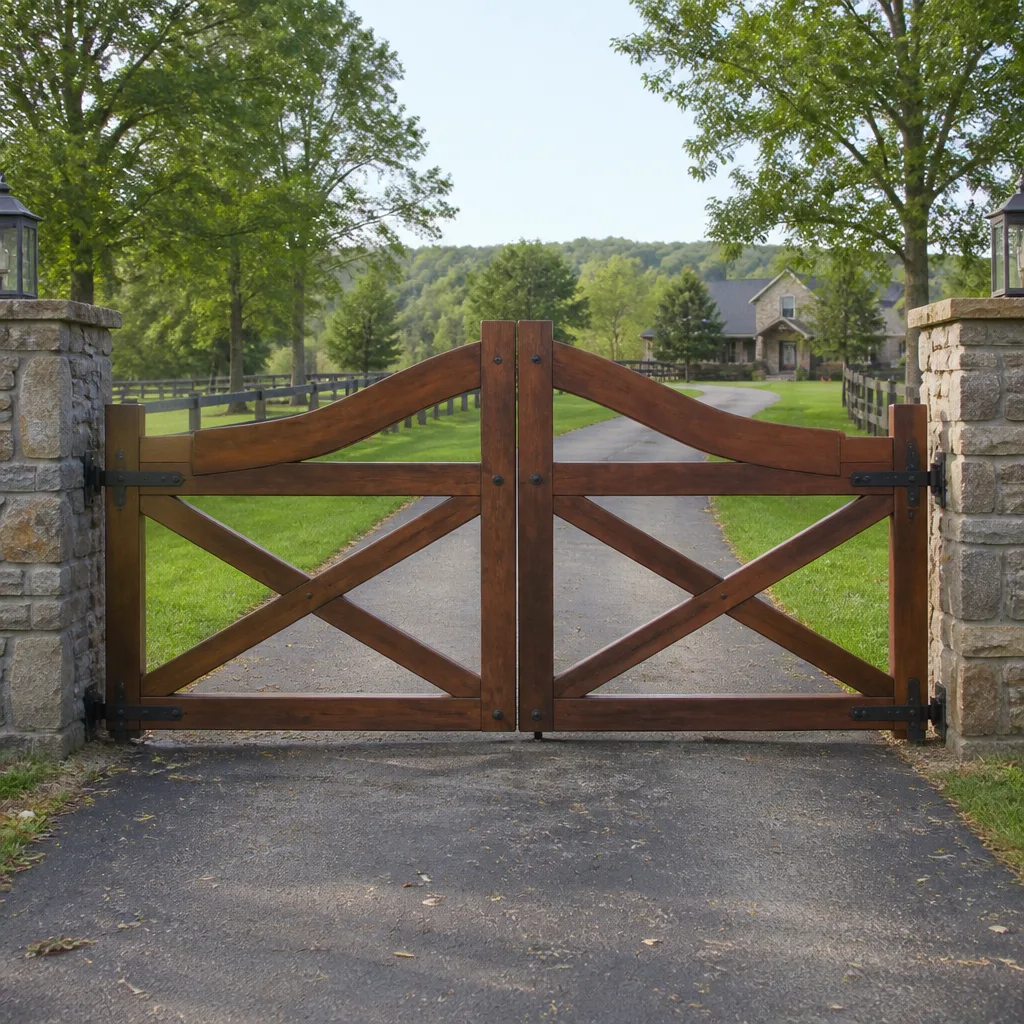 Farm & ranch
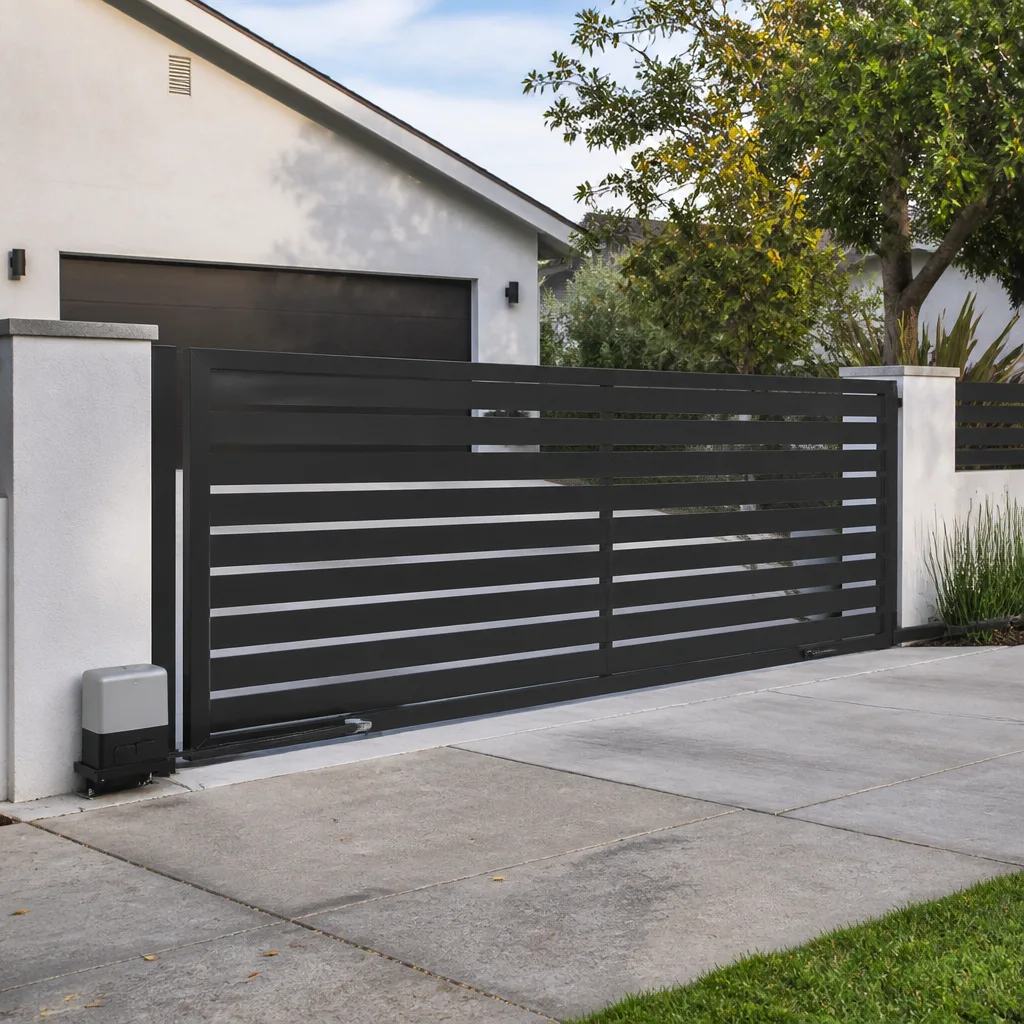 Sliding driveway gates
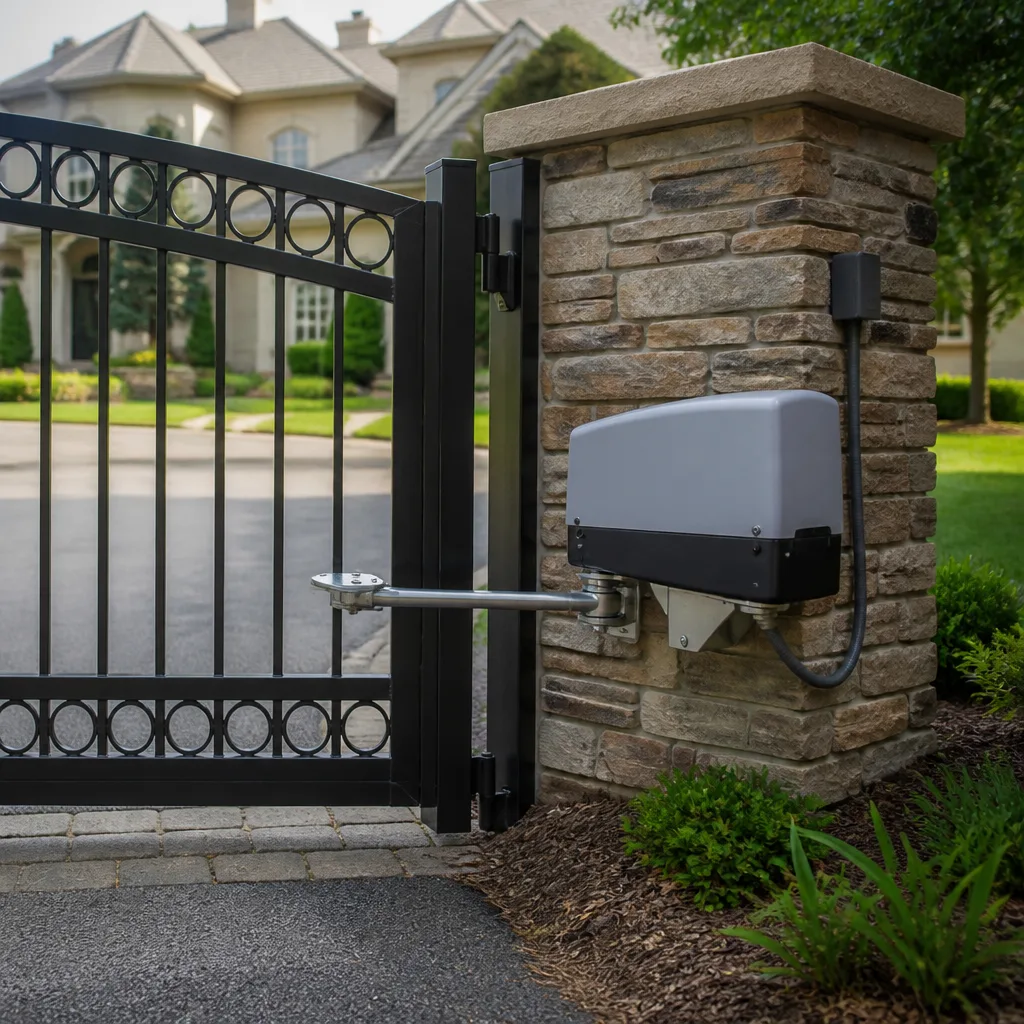 LiftMaster operators
Free on-site gate assessment - hinges, posts, and your LiftMaster or Nice gate operator checked before anything is quoted
The assessment is free and the quote is the invoice.
Get your free estimateGate Repair Maintenance Checklist for Pasadena Homeowners
Here’s the single maintenance task Pasadena homeowners skip most often: cleaning the photo-eye sensors after a Santa Ana wind event. Those gusts push fine dust, leaf fragments, and pollen directly into the sensor lenses, and a dirty sensor tells the gate’s brain that something is in the way. The result is a gate that refuses to close, reverses for no visible reason, or sits dead at the end of the driveway. Week after week, our repair calls trace back to exactly this: not a broken motor, not a snapped chain, but two small lenses coated in wind-blown grit. This checklist is built around what actually deteriorates in Pasadena’s specific climate cycle, not the generic template every national website recycles. We’re going to walk through the tasks by frequency, the lubricants that survive our temperature swings, how to document your maintenance so it stands up with an insurer or an HOA, and the three-minute safety test that tells you whether your gate is genuinely safe. Written for homeowners who want a reliable gate without becoming mechanics.
Quick Answer
A practical gate maintenance checklist for Pasadena homeowners breaks into four frequencies: after every Santa Ana wind event (sensor cleaning and track clearing), monthly (visual inspection and auto-reverse safety test), quarterly (lubrication with temperature-appropriate products), and annually (hardware tightening, battery checks, and full professional inspection). Download the printable checklist below or keep reading for the exact steps, the right products, and the signs that mean it’s time to call our Gate Repair services before the next season.
Styles & brands we work with
Table of Contents
- The Task-by-Task Checklist: What to Do and When
- Lubricants That Survive Pasadena’s Temperature Swings
- Documenting Your Maintenance: The Record That Protects You
- The Three-Minute Sensor and Auto-Reverse Safety Test
- Signs You Need a Professional Inspection Before Next Season
- Brand-Specific Notes for Common Pasadena Gate Systems
- Common Mistakes to Avoid
- Frequently Asked Questions
The Task-by-Task Checklist: What to Do and When
Flat lists fail because they treat every task as equally urgent and equally frequent. They aren’t. A gate that slides on a steel track in Pasadena’s dry air needs different attention in July than it does after February rains. Organize your maintenance by frequency and the whole thing becomes a five-minute habit instead of a chore you keep postponing. Here’s what we recommend, built around the failure patterns we actually see in Pasadena neighborhoods like Hastings Ranch, Linda Vista, and the Arroyo Seco corridor.
After Every Santa Ana Event (Immediate)
- Wipe the photo-eye sensors. These are the two small lenses mounted about six inches off the ground on either side of the gate opening, one on each post. Santa Ana winds coat them with dust and fine debris. A dry microfiber cloth is enough most times; if the lens is filmed over, dampen the cloth with water only. No Windex, no vinegar, no anything with ammonia. The ammonia attacks the plastic lens and fogs it permanently. You’ll know the sensors are the problem when the gate stops responding to the remote, reverses after touching the ground or post, or sits in one spot and won’t budge. This issue alone is behind more “my gate stopped working” calls in Pasadena than any mechanical failure, and many operators, including models from LiftMaster and Mighty Mule, will simply refuse to close with a dirty sensor rather than risk an accident.
- Clear the track or the swing path. Slide gates collect wind-blown leaves, palm fronds, and twigs in the track channel. Even a single jammed frond can cause the motor to stall and trigger the overload sensor. For swing gates, check for debris that’s blown against the hinge posts. Use a leaf blower or stiff brush; don’t reach into the track with your fingers if the gate is powered on.
- Check for shifted or loosened fasteners. Strong wind gusts put flex on gate panels and brackets. Give a visual once-over for bolts that have backed out, especially on the gate-to-hinge and gate-to-roller connections. A loose bolt on a swing gate is a future sagging panel; a loose bolt on a slide gate is a future derailment.
Monthly
- Run the auto-reverse safety test. The exact steps are in the section below, but the short version: place a solid object in the gate’s path and close the gate. If the gate doesn’t stop and reverse on contact, stop using the gate immediately and call a professional. This is not a minor annoyance; it’s the difference between a functioning gate and a 300-pound injury liability.
- Inspect the chain or belt tension. For slide gates, look for sag in the chain. A chain that hangs more than about an inch lower than the sprocket line is too loose and will eventually skip a tooth, leaving your gate stuck halfway. If you’re not comfortable assessing tension, this is a two-minute check for a professional.
- Visually inspect the wheels or rollers. Flat spots, missing roller bearings, or wheels that wobble when the gate moves all deserve attention. Early Pasadena morning dampness can cause surface rust on cheap aftermarket rollers, even in our dry climate.
- Listen. Open and close the gate one full cycle and just listen. A healthy gate is quiet – a low hum, a clean click. Grinding, squealing, thumping, or a rhythmic clicking that speeds up and slows down all indicate something wearing. Write the sound down in your maintenance log; it’s useful diagnostic information later.
Quarterly
- Lubricate the moving parts. See the lubricant section below for product specifics, but the list is: hinges on swing gates, rollers or wheels on slide gates, the chain if your slide gate has one, and the keyed release mechanism. Wipe off old lubricant before applying new; layering fresh product on top of grime drives grit into the bearings.
- Check battery health. If your gate has a battery backup, test it. Most operators have a test button or you can simply cut power to the operator and run the gate on battery for one cycle. Pasadena heat degrades lead-acid batteries faster than coastal conditions; a battery that’s more than three years old is a candidate for replacement.
- Inspect all wiring and connectors. Look for brittle insulation, especially on low-voltage wiring exposed to afternoon sun. Heat and UV are brutal on PVC insulation; after a few Pasadena summers, it cracks and exposes conductor. Animals – squirrels in the foothills, rats near the Arroyo – chew on gate cables more than you’d expect.
- Test the manual release mechanism. Every electric gate has one, usually a keyed lock or a pull handle near the operator. Make sure you can actually operate it. In a power outage you’ll need to open the gate by hand, and if the release has seized from disuse, you’ll wish you’d tested it quarterly.
Annually
- Torque all structural hardware. This includes hinge bolts, bracket bolts, anchor bolts, and anything connecting the operator to the gate or the post. Use a torque wrench set to the manufacturer’s spec, or simply check for any bolt that moves with hand pressure. In our experience, anchor bolts on automatic gates loosen gradually with every open-close cycle; annual tightening prevents a major failure.
- Check for rust and treat it early. Pasadena’s season is a wet-winter-dry-summer cycle, and rust often starts in winter when condensation sits on the metal and salt from the air (yes, even inland Pasadena gets enough atmospheric salt from the coast) accelerates oxidation. Wire-brush rust spots, treat with a rust converter, and touch up paint. On powder-coated gates, any chip exposes raw steel; touch it up before winter.
- Have the operator motor professionally inspected. Motors, gears, capacitors, and limit switches all degrade with use and temperature. A trained gate technician can measure motor current draw, check gear backlash, and catch a failing capacitor before it strands you. This is the one task where professional eyes genuinely make a difference, and honestly, it’s the one most homeowners skip.
- Review your access controls. If you use a keypad, change the code. If you have a wireless intercom or phone-based entry, test it. If a remote is missing, delete all remotes and re-learn the ones you still hold; it’s the only way to make sure a lost remote can’t open your gate.
Lubricants That Survive Pasadena’s Temperature Swings
Pasadena’s temperature range runs from around 40°F on the coldest winter nights to 100°F-plus on summer afternoons, and that 60-degree swing breaks cheap lubricants quickly. WD-40, the thing everyone reaches for first, is a solvent and water displacer, not a lubricant. It evaporates within weeks and leaves metal unprotected. Even worse, it can wash out the factory grease that your gate hinges and rollers shipped with. Here’s what actually works.
What to Use
- White lithium grease (spray or tube) – the workhorse for gate hinges, roller pins, and keyed releases. It stays put, tolerates our summer heat without running, and doesn’t attack rubber or plastic. Apply sparingly; a thin film is enough, and excess attracts dust.
- Silicone spray (dry) – the right choice for any plastic part, rubber seal, or nylon wheel. It provides light lubrication without degrading plastic, and it’s safe for photo-eye housings and keypad buttons. Avoid wet silicone that leaves an oily film; in dusty Pasadena air it becomes grinding compound.
- Garage door or gate-specific chain lubricant – available at home centers; these are formulated not to fling off and not to collect grit. Apply to chain links, not the sprockets; the sprockets get lubrication from the chain itself.
- Food-grade silicone grease (for gate operators only) – if your operator’s gearbox is serviceable and the manufacturer specifies grease, use a quality gear grease; this is a professional-grade product and usually best applied during an annual service.
What to Avoid
- WD-40 or any petroleum-based spray – as noted, it washes out bearing grease and dries to nothing. It’s a solvent, not a lubricant. For gate maintenance it’s a negative, not a neutral.
- Motor oil, including used oil – too thin, flings off immediately, attracts terrible amounts of dust, and degrades rubber seals and nylon parts.
- Graphite powder – great for locks, bad for gates. Graphite is conductive and will cause problems if it works into motor housings or sensor wiring.
- Any product labeled “penetrating oil” – these are for freeing seized parts, not for ongoing lubrication. Using penetrating oil as a lubricant is like using a fire extinguisher as a shower.
One note on the operator itself, the box that slides or swings your gate automatically: most residential gate operators are sealed units that don’t require homeowner lubrication. Opening the housing to grease gears voids warranties on some brands and can introduce dust into the electronics. Leave the operator internals to a professional. The exception is the keyed manual release, which should get a small shot of white lithium grease quarterly.
Documenting Your Maintenance: The Record That Protects You
Here’s the thing most maintenance guides miss entirely: your maintenance record is a legal and financial document. If your gate damages a vehicle, injures a delivery person, or figures in an HOA dispute, the first question any insurer or mediator asks is “what maintenance was performed and when?” A homeowner who can produce a dated photo log and a simple spreadsheet has a genuinely stronger position than one who says “I took care of it.” In Pasadena, where many HOAs in neighborhoods like Madison Heights and Bungalow Heaven maintain gates as common property with individual maintenance obligations, documentation frequently decides who pays for a repair. For related reading, see our guide on Gate Repair Permits, Codes & Inspections in CA: What You Need to Know.
What a Good Maintenance Record Contains
- Date and time of each maintenance action. Digital photos do this automatically; keep the metadata intact.
- What you did. “Cleaned photo-eye sensors, both posts, dry microfiber” is precise and useful. “Cleaned gate” is not.
- What you observed. “Small rust spot on lower hinge, treated with rust converter” or “Chain tension within normal range.” Observations matter as much as actions.
- Products used. “White lithium grease, Brand X” – if a component ever fails, knowing what touched it is useful for warranty claims.
- Photos, ideally three per session. One wide shot showing the whole gate, one close-up of the area you worked on, and one of anything that looked concerning. Store them in a folder named “Gate Maintenance [Year].”
- Invoices from professional service visits. If a technician replaced a part or performed an annual inspection, scan or photograph the invoice and add it to the folder.
You don’t need a fancy system. A note on your phone, a few photos, done. The key is consistency, not polish. A Pasadena homeowner with two years of monthly photos and a simple log will win an HOA dispute against a homeowner with zero documentation every single time. If your gate ever fails and causes property damage or injury, this record shifts you from “negligent owner” to “responsible owner who did everything reasonable,” and that shift matters in dollars.
The Three-Minute Sensor and Auto-Reverse Safety Test
Every automatic gate manufactured since the early 1990s includes an auto-reverse safety system: when the gate encounters an obstruction while closing, it must stop and reverse direction. This is a federal safety requirement, and it’s the single most important safety function your gate has. Testing it takes three minutes and requires no tools. Here’s the step-by-step.
The Test
- Use a solid, non-breakable object. A cardboard box is fine in principle, but it will crush. A five-gallon bucket, a cinder block wrapped in a towel, or a wooden step stool is better. Do not use a pet, a child, or your own body. Do not use anything you care about.
- Place the object in the gate’s closing path. For a swing gate, place it where the gate will contact it. For a slide gate, place it in the track ahead of the closing edge.
- Close the gate normally using the remote, keypad, or button.
- Watch and listen. The gate should contact the object, stop within a second, and reverse direction. A properly functioning auto-reverse will do exactly this every single time. If the gate slows but doesn’t stop, or stops but doesn’t reverse, or – worst – continues to push through the object, the safety system has failed.
- Remove the object and document the test. Photo of the test setup, date-stamped, in your maintenance folder.
What a Failure Means
A gate that doesn’t reverse on obstruction is dangerous. The force exerted by even a small residential gate operator can easily injure a child or pet or crush a bicycle. If your gate fails this test, stop using the automatic function immediately. Switch the operator to manual mode if you have access to the release mechanism, and call a gate repair professional. In most cases a failed auto-reverse is caused by incorrect force settings in the operator, a bad sensor, or a misaligned photo-eye system. None of these are safe to adjust without training. The gate remains a physical barrier, but without a functioning safety reverse it is a hazard in waiting. This is one of those situations where a trained professional is essential, and in Pasadena, that’s precisely the kind of call we walk homeowners through every week.
Signs You Need a Professional Inspection Before Next Season
Some things can’t be fixed with a checklist. During your routine maintenance, if you notice any of the following warning signs, the right move is to stop maintenance and schedule a professional inspection before the problem becomes a full failure. See Gate Repair Warning Signs: A Pasadena Homeowner’s Reference Guide for details. Pasadena’s seasons don’t wait, and a gate that’s fine in October often isn’t in January.
- The gate moves slower than it used to. Gradual slowdown over weeks or months often means failing capacitors, worn gears, or increased mechanical resistance. It will not fix itself.
- The gate shudders or shakes during travel. This can indicate flattening rollers, a bent track section, or a structural issue with the gate itself.
- The operator makes a humming noise but the gate doesn’t move. This typically points to a seized gear, a broken drive component, or a capacitor failure. Continuing to press the remote can burn out the motor entirely.
- You hear a clicking or buzzing from the operator when the gate is not in use. This often signals an electrical issue, a failing relay, or a control board problem.
- The gate reverses before touching anything. Dirty sensors cause this, but so do misaligned sensors, failing sensor wiring, or buffer/loop detector issues. Clean the sensors; if the problem persists, it’s professional territory.
- Visible rust on structural components. Surface rust you can treat yourself; scaling rust or rust on hinges, anchor plates, or the gate frame is a structural concern.
- Any electrical smell, scorching, or melted plastic. Stop using the gate, cut power to the operator, and call immediately. Electrical faults in gate operators are a fire hazard.
Warden Gate Repair Pasadena serves homeowners throughout Pasadena with free estimates – call (626) 657-5425 and we’ll take a look. For those who want to understand the cost picture before calling, our guide to Gate Repair in Pasadena breaks down real price ranges.
Brand-Specific Notes for Common Pasadena Gate Systems
Pasadena’s gate landscape runs from vintage manual gates in the Craftsman neighborhoods to modern automated systems in the foothills. The operator brand matters for maintenance because each has its own quirks. Here’s what we’ve learned from thousands of service calls across Pasadena and the San Gabriel Valley.
LiftMaster
LiftMaster operators are the most common in Pasadena residential installations, and they’re generally reliable. The weak point is the logic board, which is sensitive to power surges. During Santa Ana season, when power flickers are common, a surge protector on the operator circuit is cheap insurance. LiftMaster units also have a diagnostic LED that blinks in patterns; learn what your unit’s pattern means or look it up in the manual. Many LiftMaster no-close calls trace back to photo-eye alignment that’s off by a few degrees.
Mighty Mule
Mighty Mule is a popular DIY brand, and that means installation quality varies widely. The most common failure we see is poor wiring: undersized low-voltage cable, poorly sealed splices, and corrosion in underground connections. Pasadena’s dry climate helps, but winter rain finds every bad splice. If you have a Mighty Mule, inspect your wiring connections carefully during quarterly maintenance. The control board is also exposed on many models and benefits from a shaded installation location; afternoon Pasadena sun cooks it slowly.
DoorKing and Elite
These are higher-end brands common in larger residential and small commercial gates in Pasadena’s estate neighborhoods. They’re built for durability, but they require a specific maintenance profile: gear box oil changes on a schedule, proper limit switch calibration, and regular inspection of the drive chain tension. These are not DIY-maintenance-friendly units in most cases; factor an annual professional service into your budget. Homeowners with DoorKing or Elite operators who follow our quarterly checklist still benefit from professional calibration once a year.
If your operator isn’t listed, the maintenance principles are the same; the specific service intervals may differ. For a deeper dive on motor and operator issues across all brands, see our guide to Gate Motor Repair in Pasadena. And for the full picture on electric gate systems and what typically fails, our Electric Gate Repair in Pasadena page walks through the most common electrical failures we see.
Common Mistakes to Avoid
- Using WD-40 as a lubricant. It’s a solvent, not a lubricant, and it strips the bearing grease your gate needs. Use white lithium grease or silicone spray instead.
- Ignoring the auto-reverse safety test because “it’s working fine.” Every gate that’s ever injured someone was working fine right up until it wasn’t. Three minutes, monthly, no exceptions.
- Pressure-washing the gate and operator. High-pressure water drives grit into bearings, forces water into electrical connections, and can damage sealed motor housings. Use a hose on low pressure or, better, a bucket and sponge.
- Painting over rust without treating it first. Paint seals rust in and it continues spreading underneath. Wire-brush, treat, then touch up.
- Running the gate with a known failing sensor. If the gate intermittently refuses to close or reverses for no reason, and you’ve cleaned the lenses, don’t just put up with it. The intermittent issue is a safety system crying for attention.
- Over-tightening hardware during annual maintenance. Snug is good; cranking bolts until they strip is a self-inflicted wound. Use a torque wrench and the manufacturer’s specification when available.
- Skipping the manual release test because “we never lose power in Pasadena.” Power outages from Santa Ana winds, heat waves, and occasional winter storms happen every year. A seized manual release turns a power outage into a trapped-at-home situation.
Frequently Asked Questions
Most homeowners handle basic monthly and quarterly maintenance themselves for under $30 in supplies (lubricant, microfiber cloths, rust treatment). For more guides & resources, visit our blog. Professional annual inspections in Pasadena typically run $95 to $180 depending on the gate type and operator brand, and most companies, including ours, apply the inspection fee toward any repair needed. Call (626) 657-5425 for a free estimate – we quote the price before any work starts, every time.
After every Santa Ana wind event, and monthly as a baseline. Santa Ana events in Pasadena are sporadic, so the practical answer is: every four to six weeks in fall and winter, and after any day with visible wind-blown dust. A two-second wipe with a dry cloth prevents most sensor-related service calls.
The keyed manual release mechanism, yes – a small shot of white lithium grease quarterly is appropriate. The internal motor, gears, and drive components, no – most residential operators are sealed units, and opening the housing risks voiding warranties and introducing dust. Leave operator internals to a professional.
The 365-Day Done Right Promise from Warden Gate Repair covers every repair we perform in Pasadena: if the repair fails within 365 days, the return visit and corrective work are free. It’s a written guarantee, included with every job, no fine print. See Warden Gate Repair Pasadena home for details on how to use it.
Yes. There are components – motor current draw, gear backlash, capacitor health, limit switch calibration – that simply can’t be assessed without training and specialized tools. The checklist prevents most problems; the annual inspection catches the ones you can’t see. It’s inexpensive insurance, and in our experience, it prevents roughly 80% of emergency failures.
Stop using the automatic function immediately, switch to manual if possible, and call a gate repair professional. A gate that doesn’t reverse on obstruction is unsafe, full stop. The fix is usually straightforward for a trained technician, but it’s not a DIY adjustment. Call (626) 657-5425 and we’ll get a technician to your Pasadena home quickly.
The Bottom Line
Pasadena’s specific climate – dry Santa Ana winds, 60-degree temperature swings, and the occasional winter rain – breaks gates in predictable ways. The checklist above is built around those specific failure patterns, not a generic template. Run the sensor-cleaning habit after every wind event, do the three-minute safety test monthly, use the right lubricants, and document everything with photos. If you follow this maintenance schedule, your gate will last longer, fail less often, and when something does go wrong, your maintenance record will protect you with insurers and HOAs. For the tasks you can’t do yourself – operator inspection, electrical work, structural repairs – Gate Repair in Pasadena from Warden Gate Repair starts with a free estimate and a written price before any work begins. Call (626) 657-5425.
Written by Cole Rafferty, Owner at Warden Gate Repair Pasadena, serving Pasadena since 2008.
See the difference
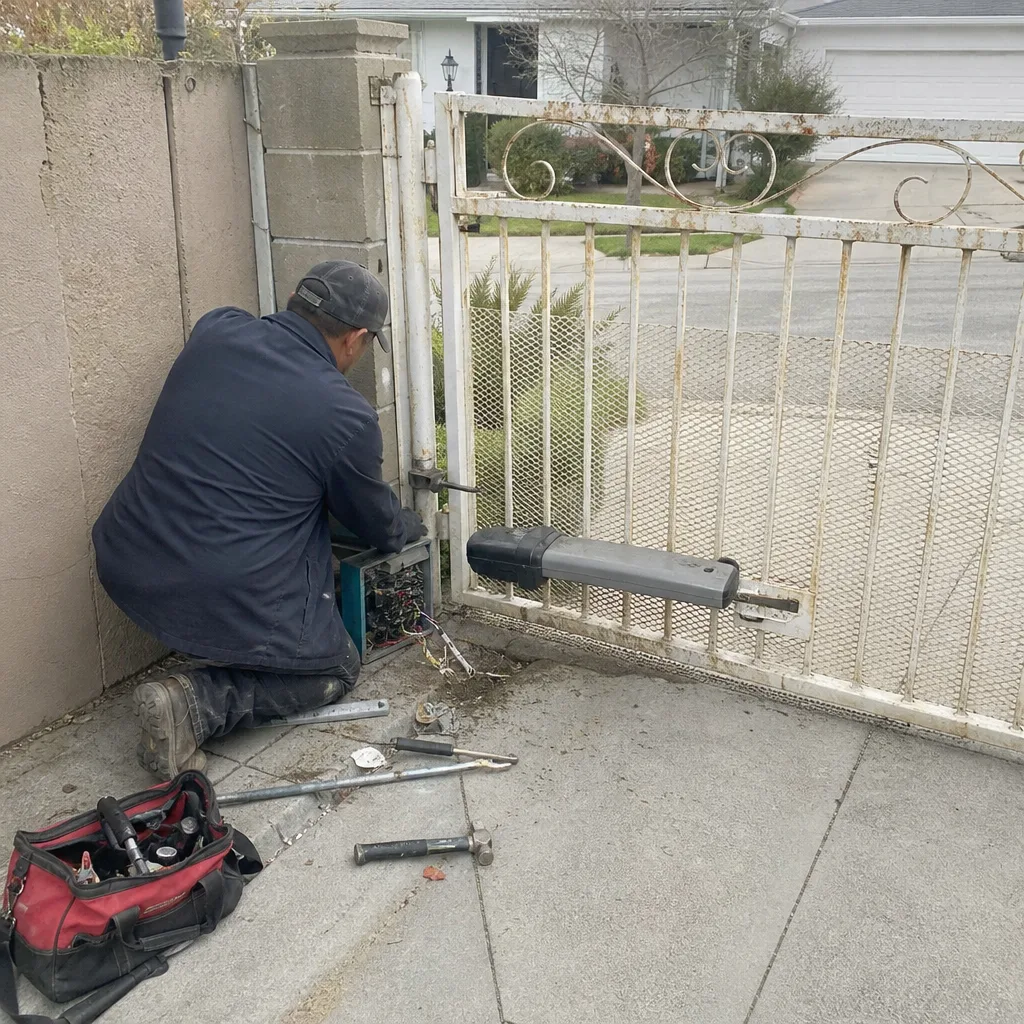 Before
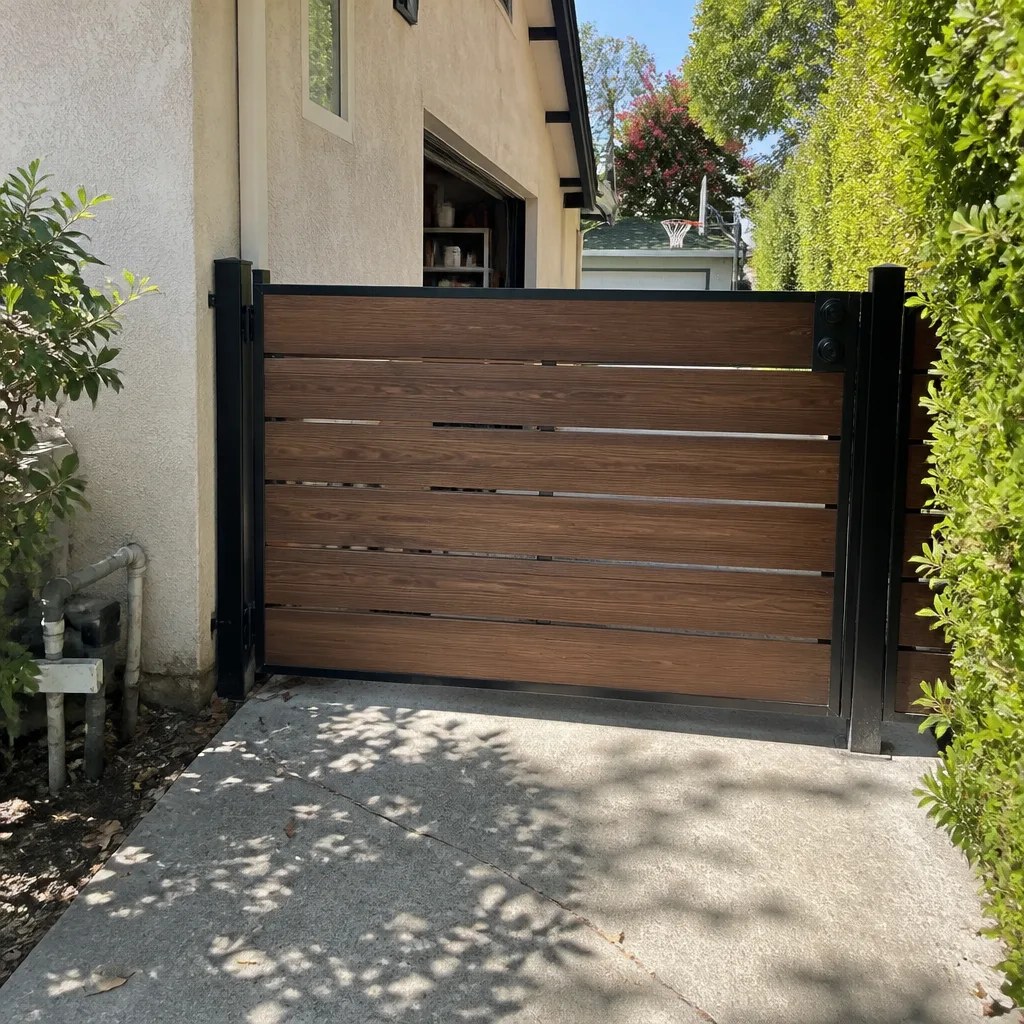
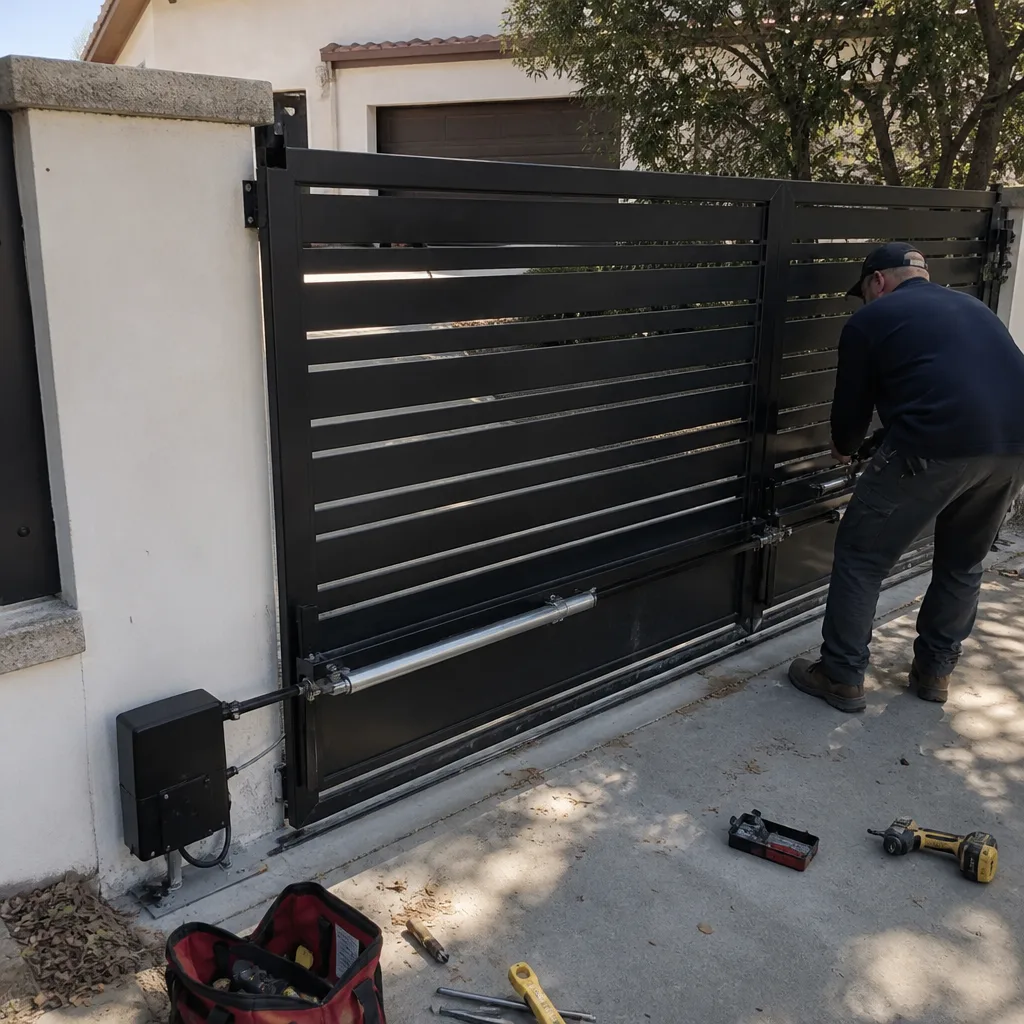 After
After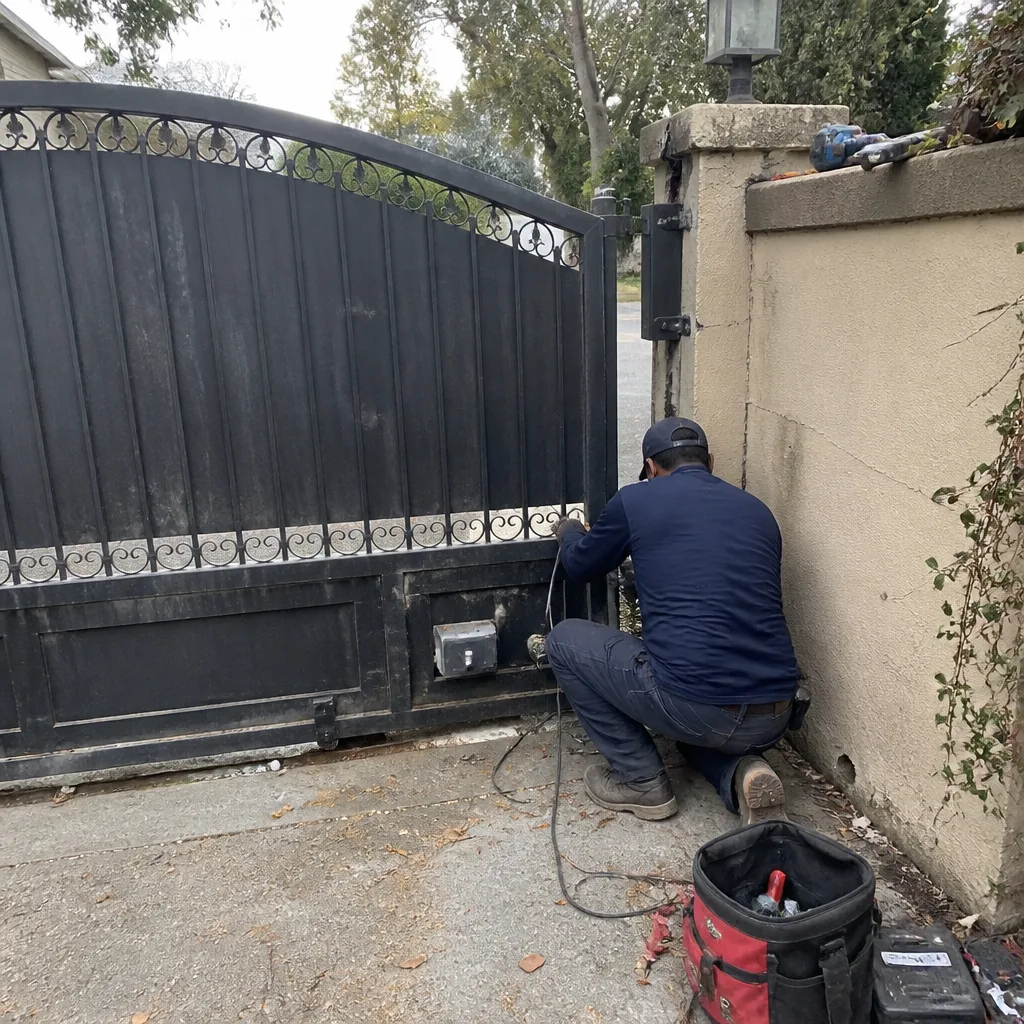 Before
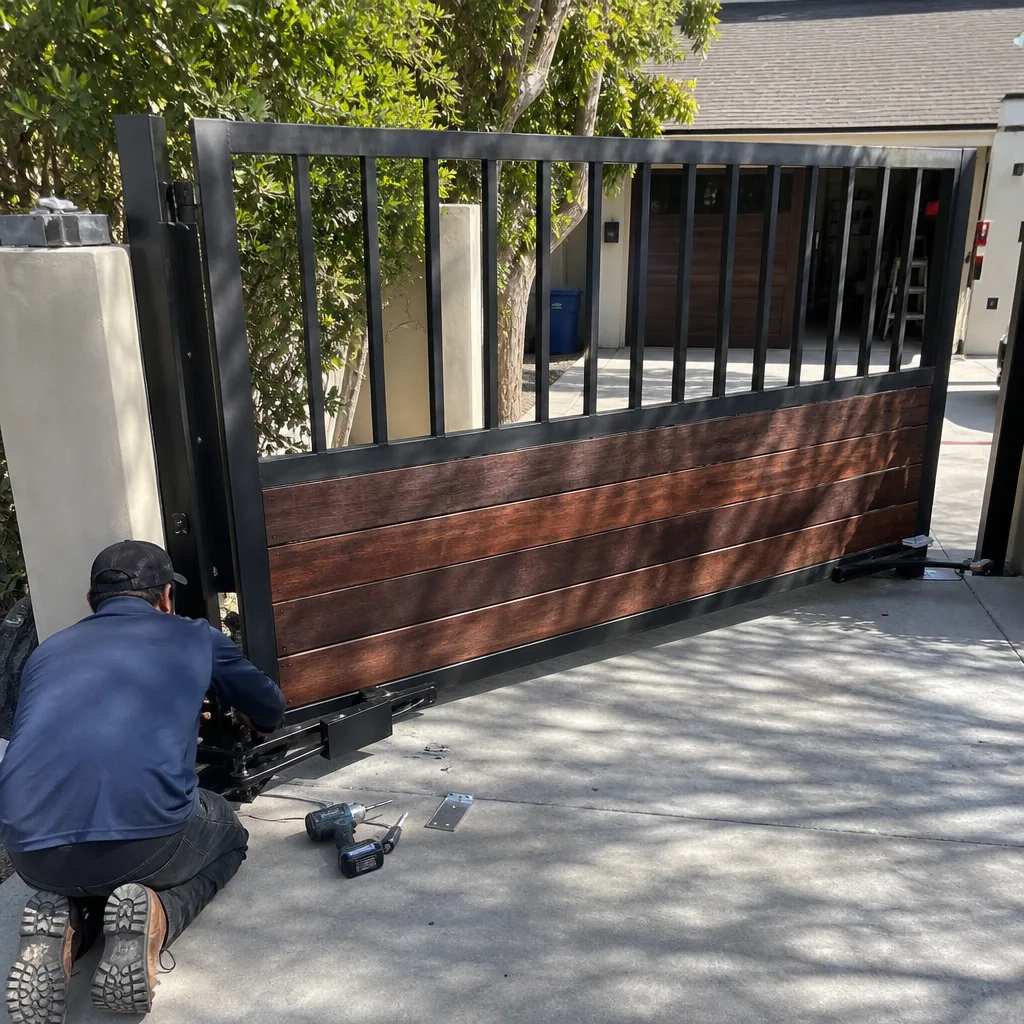 After
After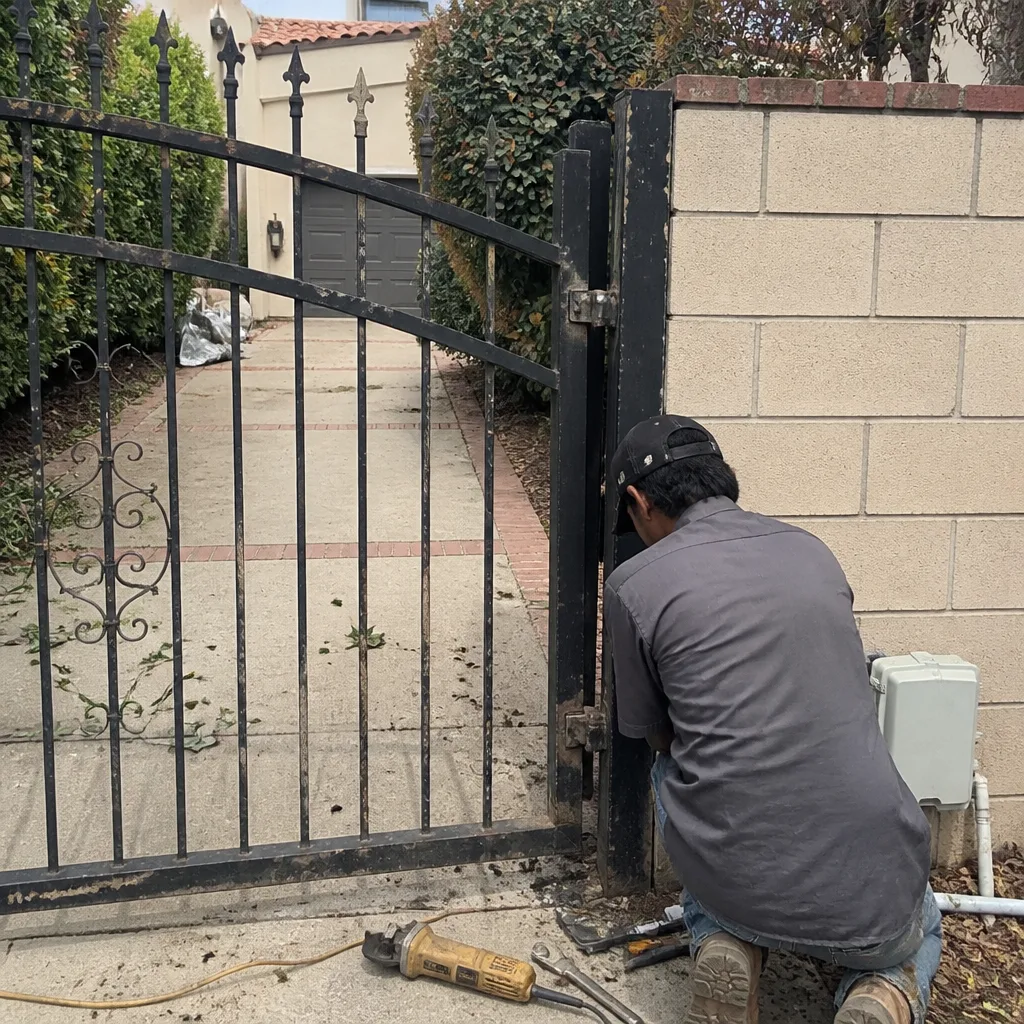 Before
 After
After