
Last updated October 16, 2026
 Wrought iron
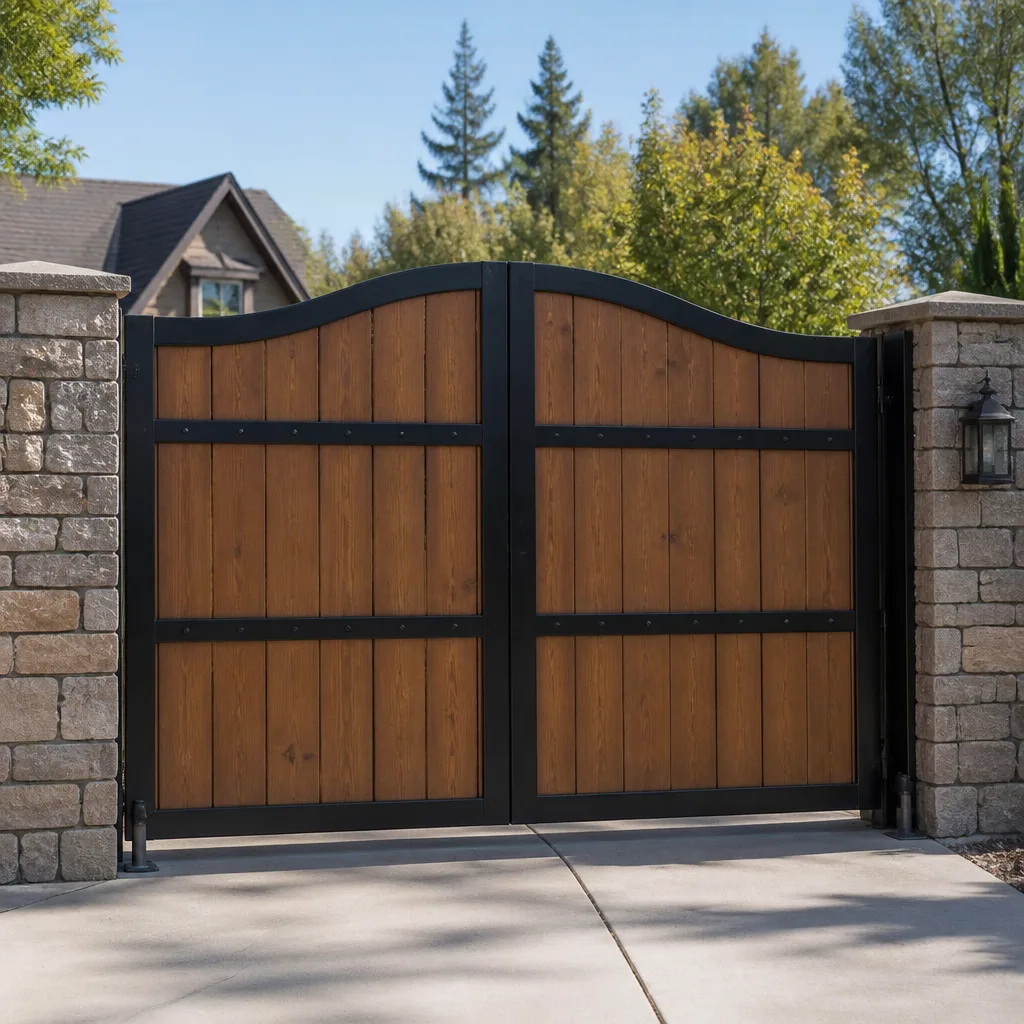 Wood & steel frame
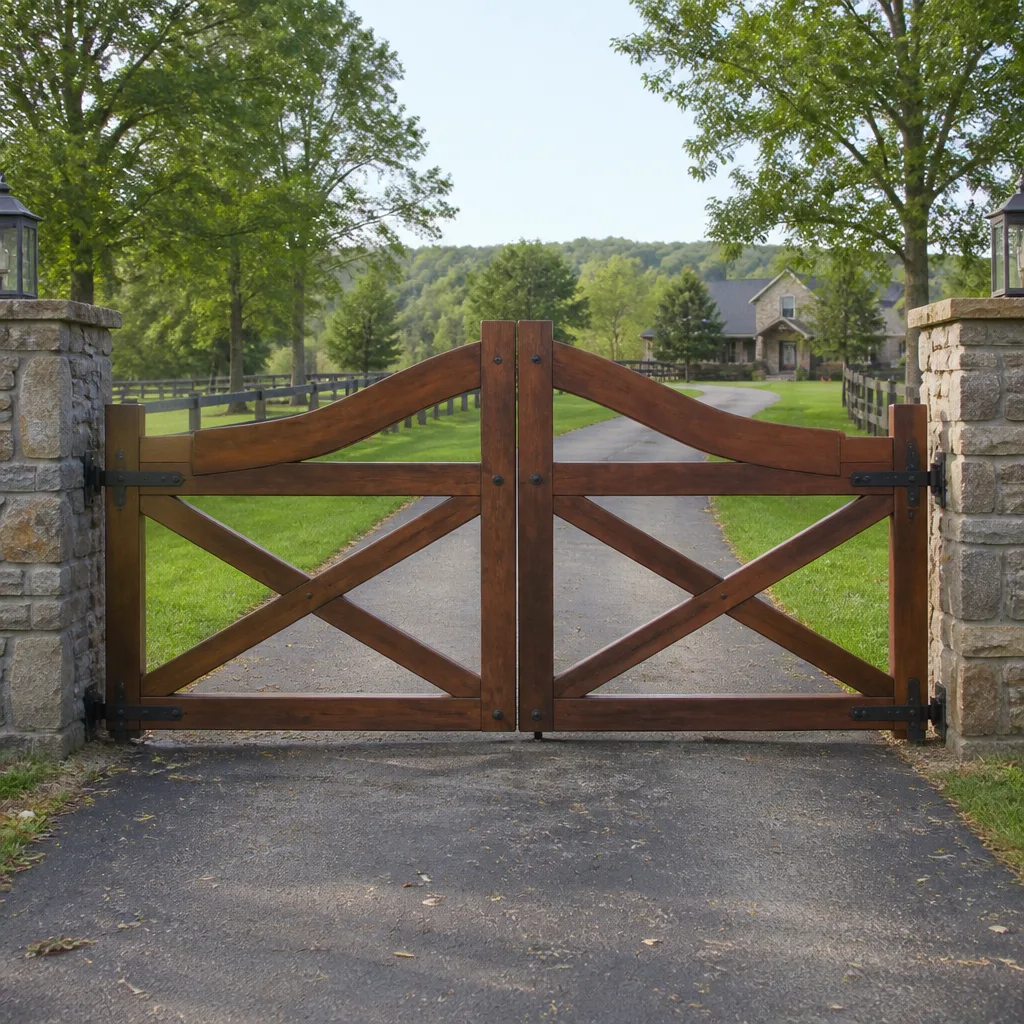 Farm & ranch
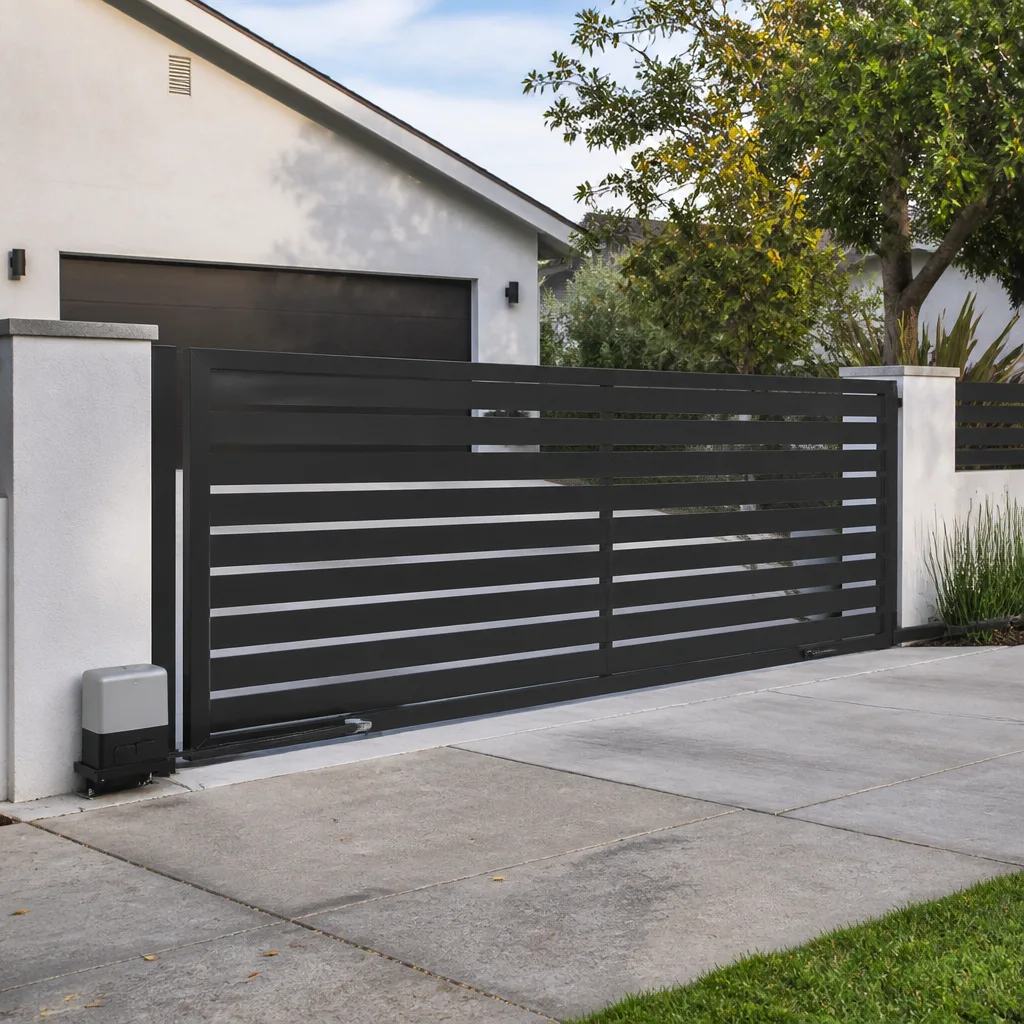 Sliding driveway gates
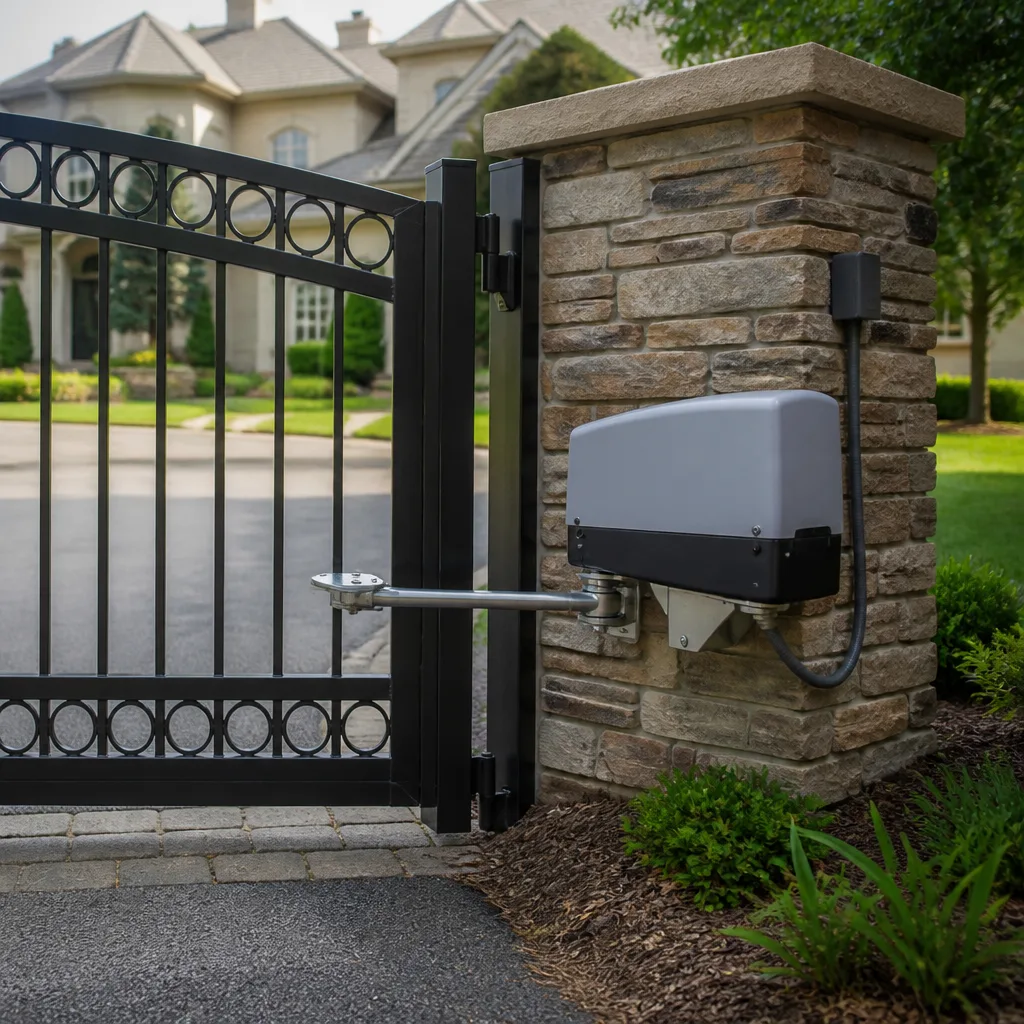 LiftMaster operators
Free on-site gate assessment - hinges, posts, and your LiftMaster or Nice gate operator checked before anything is quoted
The assessment is free and the quote is the invoice.
Get your free estimateDIY vs Professional Gate Repair: The Pasadena Homeowner’s Decision Guide
Here’s a number most Pasadena homeowners never hear: California courts have held property owners liable for injuries caused by automatic gates they repaired themselves. Not gates they ignored. Gates they actively worked on. The logic is simple and unforgiving: once you open the panel and touch the wiring, you own the safety of that system in a way you didn’t before. This guide walks through the real decision points for Pasadena homeowners facing a gate that won’t open, won’t close, or won’t stop closing. You’ll learn which repairs are genuinely safe to attempt, which ones carry legal and physical risk, what things actually cost, and how to decide without guessing. For related reading, see our Gate Repair Maintenance Checklist for Pasadena Homeowners.
Styles & brands we work with
Quick Answer
A DIY gate repair makes financial sense only for surface-level maintenance: cleaning photoelectric sensors, lubricating hinges, replacing a keypad, or tightening visible bolts. Anything involving the gate motor, opener wiring, safety sensors that trigger the auto-reverse function, or the gate’s structural posts should go to a professional, because California’s homeowner liability standard means a self-repaired gate that fails a safety test can expose you to injury claims that cost far more than the repair itself. In Pasadena specifically, where gates are everywhere and many homes sit on sloped lots that stress gate hardware, the professional route usually wins on both cost and risk.
Table of Contents
- California Liability: What Pasadena Homeowners Actually Own
- The Repairs You Can Genuinely Do Yourself
- The Repairs That Carry Legal or Physical Risk
- UL 325 and Auto-Reverse: Why It Changes the DIY Math
- The Honest Cost Comparison: DIY vs Professional
- Three Questions to Ask Before Starting Any Gate Repair
- Common Mistakes to Avoid
- When to Call a Professional
- Frequently Asked Questions
- The Bottom Line
California Liability: What Pasadena Homeowners Actually Own
The moment you modify an automatic gate system, you inherit a duty of care under California premises liability law. That’s not legalese for “be careful.” It’s a specific legal threshold: if someone gets hurt by a gate you worked on, and a court finds your repair created or failed to correct a hazardous condition, you are personally exposed. Homeowners insurance may cover some liability, but many policies have exclusions for self-performed work on automated systems, especially ones that don’t meet current safety standards.
We’ve seen this play out in Pasadena neighborhoods more than once. A homeowner in Hastings Ranch replaced a gate motor control board from an online tutorial, got the gate moving, and called it done. Six weeks later the gate crushed a neighbor’s bicycle trailer because the auto-reverse pressure sensor was never recalibrated. The property owner was named in the claim. The gate “worked.” It just didn’t work safely. That’s the gap DIY tutorials rarely mention.
What California actually requires of automatic gate systems:
- UL 325 compliance: Automatic gate operators must meet UL 325 safety standards, including functioning auto-reverse mechanisms and monitored safety sensors.
- Auto-reverse on contact: If the gate hits an obstruction while closing, it must reverse within two seconds. This is tested with a solid object, not a hand.
- Photoelectric sensors: Gates must have entrapment protection that detects a person or object in the gate’s path and stops or reverses movement.
- Warning signage: Certain automatic gates require permanent warning signs depending on the installation location and gate type.
- Regular maintenance documentation: Homeowners should keep records of repair and maintenance work. If an incident occurs, those records are your first line of defense.
For Pasadena homeowners specifically, the city’s mix of older Mid-Century homes and newer hillside construction means gates range from simple tubular steel swing gates to heavy ornamental iron slide gates on San Rafael slopes. The heavier the gate, the more dangerous a bad repair becomes. A 400-pound iron gate with a mis-calibrated sensor is not a hypothetical risk. It’s a real one.
The Repairs You Can Genuinely Do Yourself
Not every gate problem needs a truck roll. Some maintenance tasks are genuinely simple, take under an hour, and don’t touch the safety systems. Here’s the honest list of what a competent Pasadena homeowner can handle with basic tools.
- Cleaning photoelectric sensors: Dirt, cobwebs, and Pasadena’s dry-season dust reduce sensor range. Wipe the small lenses on both sides of the gate opening with a soft cloth. Cost: $0. Time: 10 minutes.
- Lubricating gate hinges: Squeaking is mechanical friction. Use a silicone or lithium spray on the hinge pins and pivot points. Don’t use WD-40, which attracts dust and breaks down. Cost: $8-15. Time: 15 minutes.
- Replacing a keypad battery: If the keypad lights dim or the gate stops responding to codes, it’s usually the internal battery. Most keypads pop open with a small screwdriver. Cost: $5-10. Time: 10 minutes.
- Tightening visible bolts and screws: Gate hardware vibrates loose over time, especially on swing gates that cycle dozens of times daily. Walk the gate frame and tighten anything visibly loose with the correct size wrench or socket. Cost: $0. Time: 20 minutes.
- Reprogramming a remote control: Most remotes from brands like Linear or LiftMaster have a clear programming sequence in the manual, usually a button on the opener unit plus a button on the remote. If you have the manual, this is a five-minute job. Cost: $0. Time: 5 minutes.
The common thread: none of these tasks change how the gate applies force, how the motor operates, or how the safety sensors communicate with the control board. You’re restoring existing function, not modifying it. That distinction matters more than skill level.
One more genuinely useful DIY task: keeping a maintenance log. Write down the date, what you did, what product you used, and any observations. If the gate ever fails and someone gets hurt, that log demonstrates a pattern of responsible maintenance, which matters in a liability context. We tell every Pasadena homeowner we serve to keep one, whether we do the work or they do.
The Repairs That Carry Legal or Physical Risk
Now the other side. These are the repairs where the stakes change, and not because anyone doubts your ability to follow a YouTube video. The problem is that the failure mode isn’t “the gate doesn’t work.” It’s “the gate works incorrectly and injures someone.”
- Gate motor replacement or internal repair: The gate motor (the box that slides or swings your gate automatically) contains capacitors that hold a charge even when unplugged, and the motor’s force settings directly affect how hard the gate pushes. Getting the wiring wrong can damage the control board, and getting the force settings wrong can damage a person. We service Ghost Controls, Viking, and BFT motors in Pasadena regularly, and the number of DIY-replaced motors we’ve seen wired with the polarity reversed and the force turned up to “just make it work” is staggering.
- Control board replacement or wiring repair: The control board is the brain of the whole system. It manages sensor inputs, remote signals, force limits, and the auto-reverse function. An incorrect board, a damaged relay, or a crossed wire can leave the gate appearing to work while its safety features are silently disabled. You won’t know until something happens.
- Auto-reverse calibration: This is the specific repair that carries the most legal exposure. The auto-reverse mechanism is what stops a gate from crushing a child, a dog, or a bicycle. Calibrating it correctly requires testing with consistent force measurements and verifying the reversal happens quickly enough. If you adjust the opener’s force or travel limits, you’ve touched the auto-reverse system, and now you own it.
- Gate post resetting or re-welding: When a gate sags, the problem is usually the post or the hinge welds. This is structural work. A post that isn’t set correctly in concrete will shift under load, which can cause the gate to bind, slam, or fall. On a sloped Pasadena lot, the forces at play are even worse. This is not a repair you fix with shims.
- Any repair that requires opening the operator housing when the unit is still under warranty: Many opener warranties are voided by unauthorized modification. If your LiftMaster, FAAC, or DoorKing opener is still covered, a DIY repair can cost you the warranty, and then the professional repair costs more than it would have originally.
What should trip your alarm: if the repair you’re considering requires opening the operator housing, touching any wire that connects to the motor or the sensors, or changing any force or travel setting, stop. That’s the line between maintenance and modification, and modification is where liability lives.
UL 325 and Auto-Reverse: Why It Changes the DIY Math
UL 325 is the safety standard for automatic gate operators, and before you skip this section thinking it’s a dry regulatory footnote, understand this: UL 325 is the standard a plaintiff’s attorney will reference if your gate hurts someone. It’s not an inspection you pass. It’s the legal benchmark for what a “safe” automatic gate system looks like.
The core requirement is entrapment protection. In plain English, that means your gate must be designed and installed so it cannot trap, crush, or pin a person. UL 325 requires two layers of protection: primary entrapment protection (the auto-reverse mechanism that senses resistance and reverses direction) and secondary entrapment protection (photoelectric sensors or edge sensors that detect an obstruction before the gate touches it).
Here’s what that means for DIY work: if you replace a control board and the new board defaults to different force settings, or if you adjust the opener’s sensitivity to fix a gate that keeps reversing on its own, you may have unintentionally disabled one or both layers of protection. The gate will still open and close. It will still “work.” But it no longer meets UL 325. And if an injury happens, the fact that you didn’t know about UL 325 is not a defense.
Testing auto-reverse safely:
- Use a solid object, never a person or pet: The standard test is a solid, fixed object placed in the gate’s path. A traffic cone works. A cardboard box doesn’t.
- Test the gate in both directions: The auto-reverse must trigger on close and on open. Many DIY repairs only test one direction.
- Measure the reversal time: The gate should reverse within two seconds of contacting the object. If it takes longer, the force setting is too high.
- Test at multiple points along the gate’s travel: The force exerted varies along the gate’s path, especially on sloped Pasadena driveways. A gate that reverses correctly at the midway point may not reverse correctly near the fully closed position.
- Document the test: Write down the date, the method, and the result. This documentation protects you later.
If any step of that test fails, or if you’re not confident you’re performing it correctly, that’s a signal to stop and call someone who does this work professionally. The stakes are simply too high to guess.
The Honest Cost Comparison: DIY vs Professional
Cost is the reason most people consider DIY. So let’s be honest about what DIY actually costs, including the parts most cost comparisons leave out. For detailed pricing information, see our Gate Repair Cost Breakdown: The Pasadena Homeowner’s Reference for 2026.
The DIY cost for a gate motor replacement in Pasadena:
- Motor unit: $280 to $650 depending on the brand (Ghost Controls tends to be less expensive; Viking and BFT motors run higher)
- Tool rental or purchase: $0 to $150 if you already own a multimeter, socket set, and wire strippers
- Time investment: 4 to 10 hours for a first-time replacement, including research, troubleshooting, and rework
- Risk cost: The potential liability exposure if the installed motor doesn’t meet UL 325 safety requirements, estimated by legal precedent in the tens of thousands of dollars minimum
- Re-do cost if something goes wrong: A professional service call to fix a botched DIY motor replacement typically costs more than the original professional installation would have, because the technician has to undo the work first
The professional cost for the same repair through gate motor repair in Pasadena:
- Labor and service call: Typically ranges from $150 to $400 depending on the gate type and the specific problem, with the written price provided before any work starts
- Parts if needed: Same motor unit cost, but often at contractor pricing, which can be 10-20% below retail
- Warranty: Workmanship warranty plus the manufacturer’s warranty on the part, which remains valid because an authorized professional performed the installation
- Documentation: A written record of the repair, which protects you in liability and resale contexts
- Time investment: Roughly the length of the service window, usually 1 to 3 hours, during which you can do anything else
When you total everything, professional repair is rarely more expensive on the jobs where it matters. The DIY savings, when they exist, are concentrated in the small maintenance tasks where DIY is genuinely appropriate anyway. On motor replacements, control board work, and safety system repairs, the real cost comparison isn’t DIY versus professional. It’s DIY versus the cost of getting the safety wrong.
One more cost factor specific to Pasadena: many of the city’s homes, particularly in the Madison Heights and Caltech neighborhoods, have gates that are original to the home and date from the 1960s through 1980s. Those gates were often installed before current safety standards existed. A professional repair can bring a legacy gate up to current safety standards as part of the work, whereas a DIY repair usually just restores function without addressing the underlying safety gap. That difference has real financial and legal value.
Three Questions to Ask Before Starting Any Gate Repair
Before you pick up a wrench, ask yourself these three questions. The third one is the tripwire.
Question 1: Will this repair change how the gate moves, how much force it uses, or how it detects obstructions?
If the answer is yes, you’re modifying a safety system, not maintaining it. Lubricating hinges doesn’t change the gate’s movement. Replacing a motor does. Changing a control board does. Adjusting force settings does. Any modification to force, travel, speed, or sensor behavior puts you in a different legal and safety category. This is where most DIY gate repairs cross the line without the homeowner realizing it.
Question 2: If this repair fails or is wrong, what’s the worst thing that could happen?
A keypad battery fails: the keypad stops working. That’s the worst case. A sensor fails: the gate may not reverse on contact. The worst case is a child or pet pinned by a heavy gate. A motor wiring error fails: the control board shorts, the capacitor discharges, or the gate runs without safety limits. The worst case is electrical shock or a gate that operates with no entrapment protection. If your worst case answer is “someone could get hurt,” that’s a job for a professional.
Question 3: Would I sign my name to the safety of this gate for the next year?
This is the tripwire. It strips away the cost argument, the confidence argument, and the convenience argument. The question isn’t “can I make the gate move?” It’s “can I certify that this gate will stop moving when it needs to?” Because that’s what repair actually means. If you can’t sign your name to it, don’t do it. In our experience with Pasadena homeowners, people who honestly answer this question make better decisions than people who skip it.
Common Mistakes to Avoid
- Fixing the symptom instead of the cause: A gate that reverses midway usually has a sensor or force setting problem, but many homeowners just adjust the force setting higher to push through the problem. That disables the auto-reverse protection and creates a crushing hazard. The gate “works,” but now it’s dangerous.
- Buying the cheapest replacement part from an online marketplace: Generic control boards and motors are often wired differently than the brand original, which can cause unexpected behavior and void the manufacturer’s warranty. In Pasadena’s market, we’ve seen plenty of gates brought back from the brink with a cheap part that never operated safely.
- Ignoring the gate’s physical condition while fixing the electronics: A sagging gate, worn hinge, or bent track will eventually destroy even a brand-new motor. If the mechanical structure is failing, no amount of electronic repair will fix it. Pasadena’s dry summers and occasional wet winters accelerate metal fatigue on older gates.
- Failing to test the auto-reverse after any repair, even a minor one: Every repair that touches the operator or the gate’s motion should end with a full auto-reverse test using a solid object. Skipping this test is the single most common mistake, and it’s the one with the highest potential consequence.
- Not keeping records of the work: A repair log with dates, procedures, and results protects you in multiple ways. It helps a future technician diagnose problems, it helps if you sell the home, and it helps in any liability situation. Keep it.
- Working on a gate that’s still connected to power: This sounds obvious, but it happens constantly. Gate motors have capacitors that retain charge even after the power is cut. A homeowner who opens the operator housing without properly discharging those capacitors can receive a painful and dangerous shock. Always kill the power at the breaker, and if you don’t know how to discharge a capacitor safely, don’t open the housing at all.
When to Call a Professional
Call a professional when the repair touches the motor, the wiring, the control board, the sensors, or the gate’s structural integrity. Call a professional when the auto-reverse test fails or you don’t know how to perform it. Call a professional when the gate is heavy, the lot is sloped, or the system is old enough that current safety standards weren’t in place when it was installed. Call a professional when the worst-case failure scenario is an injury rather than an inconvenience. Gate repair in Pasadena is what we do every day, and a Warden Gate Repair Pasadena home consultation starts with a free estimate at (626) 657-5425.
Frequently Asked Questions
Professional gate repair in Pasadena typically ranges from $150 to $400 for service and labor, plus parts if a component like a motor or control board needs replacement. The exact price depends on the gate type, the specific failure, and the parts required, and a written price should always be provided before work starts. Call (626) 657-5425 for a free estimate specific to your gate.
You can perform basic maintenance like cleaning sensors, lubricating hinges, replacing keypad batteries, and tightening visible bolts, but any repair that involves the gate motor, wiring, control board, or auto-reverse calibration should be left to a professional because California law holds property owners liable for injuries caused by self-repaired gates. The threshold between maintenance and modification is where the risk begins.
UL 325 is the safety standard for automatic gate operators that sets requirements for entrapment protection, including functional auto-reverse mechanisms and photoelectric sensors, and it matters because it’s the legal benchmark referenced in liability claims involving gate injuries. Any modification to your gate’s motor, force settings, or sensors can void UL 325 compliance and expose you to legal exposure.
Place a solid object like a traffic cone in the gate’s path, operate the gate in both directions, and verify that the gate reverses within two seconds of contact, then repeat the test at multiple points along the gate’s travel path. If the gate doesn’t reverse or takes longer than two seconds, the force setting is too high and the gate is unsafe, and the repair should be handled by a qualified professional.
Warden Gate Repair Pasadena provides factory-trained service on nine major gate and opener brands including LiftMaster, FAAC, BFT, Linear, Viking, Ghost Controls, DoorKing, Elite, and Mighty Mule. Our technicians arrive with the right parts and the right knowledge for each specific brand, and every repair includes a written price before work starts. For electric gate repair in Pasadena, call (626) 657-5425.
Keep a written log that includes the date of repair, the specific work performed, the parts and products used, the results of any auto-reverse testing, and the name and company of any professional who performed the work, because this documentation protects you in insurance claims, resale disclosures, and potential liability situations. A professional repair should come with this documentation automatically, which is part of what you’re paying for.
The DIY-versus-professional decision for gate repair in Pasadena isn’t really about whether you can do the work. It’s about whether you should own the risk. Basic maintenance tasks like cleaning sensors and lubricating hinges are genuinely DIY-appropriate and worth doing yourself. But anything that touches the motor, the wiring, the control board, or the auto-reverse system in a state where liability for gate injuries runs directly to the property owner is not a savings opportunity. It’s an exposure you don’t want. Get a free estimate from our Gate Repair team, ask for a written price before work starts, and keep your documentation. That’s the smart play, and it’s what we’d tell any neighbor.
Written by Cole Rafferty, Owner at Warden Gate Repair Pasadena, serving Pasadena since 2008. Looking for more guides & resources?
See the difference
 Before
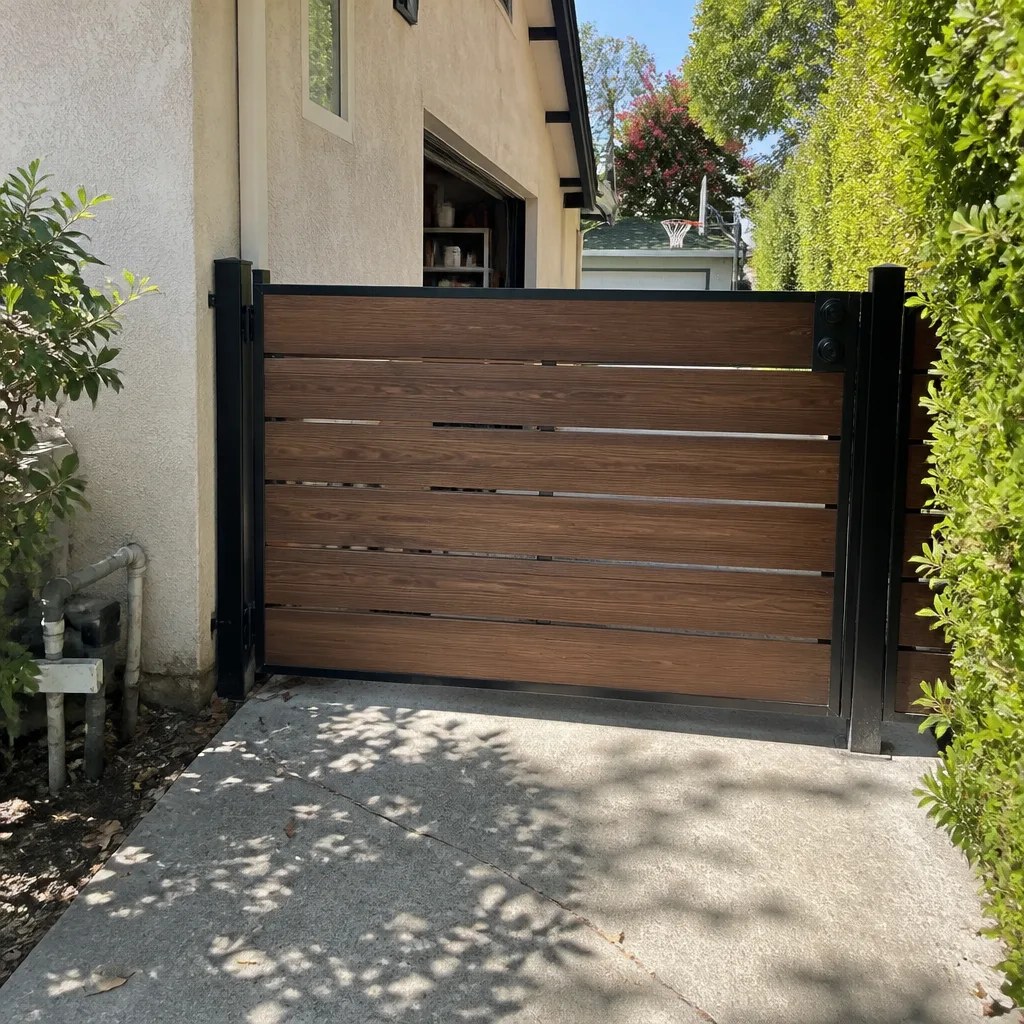
 After
After Before
 After
After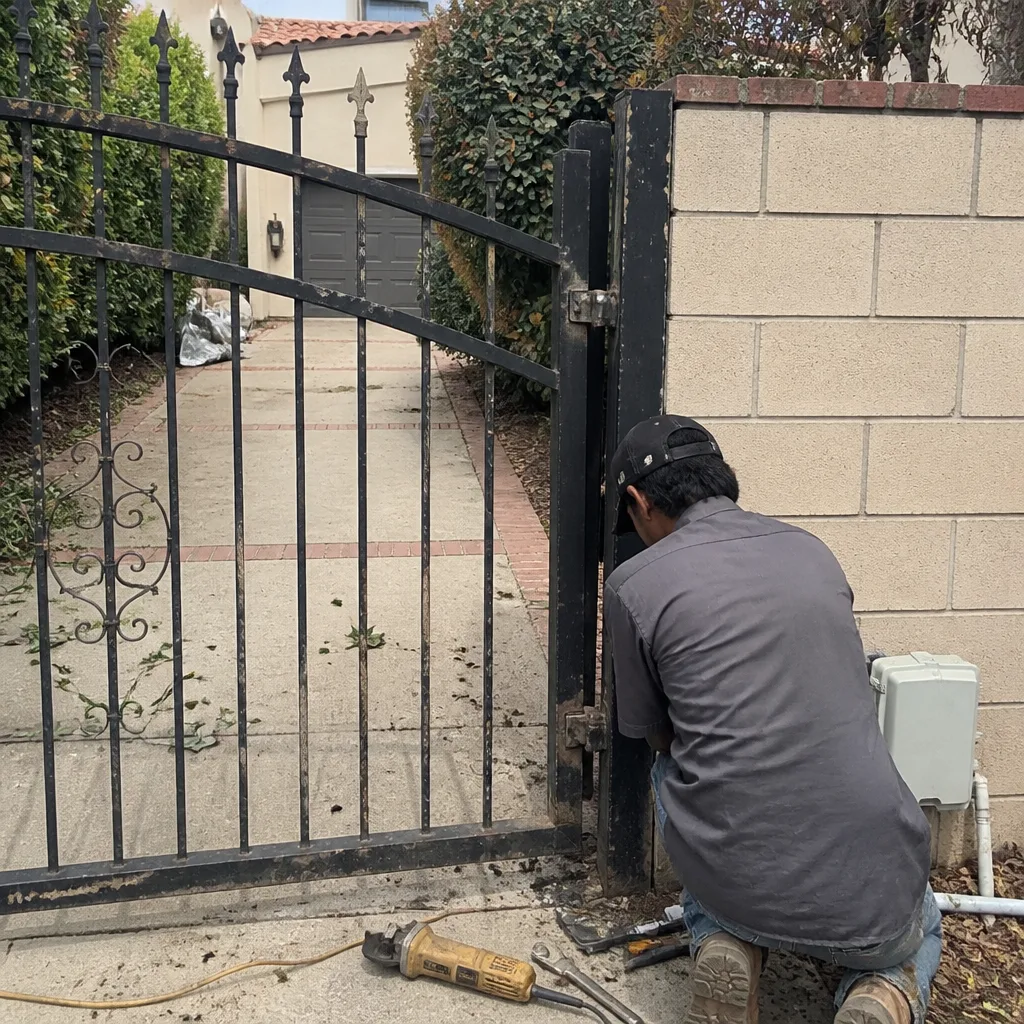 Before
 After
After